Worship the Ground You Walk On: Fresh Sod
We carry sod in the outdoor Royal Landscaping area in our parking lot, and people often ask us how to do it the right way. Laying sod is a fast, convenient way to either start a new lawn, or repair one that has sustained serious damage. While it can take some work, once you’ve prepared the ground properly, the work goes quickly and easily.
Why Lay Sod?
- It’s quicker than grass seed.
- It’s less work than planting and cultivating grass seed.
- If purchased from a reputable dealer like JAY-K Lumber and Royal Landscaping, it will look great right from installation (as long as you water faithfully for several weeks afterward). Grass seed will take some time, and often grows unevenly, can be eaten by birds, or can get washed away by heavy rains before it takes.
What are the trade-offs vs. Grass Seed?
- It costs more than planting grass seed.
- It comes in fewer grass breeds/types than grass seed.
How to Sod Your Lawn:
Prepare the Ground
Preparing the ground for laying sod is similar to when you grow grass from seed. Preparing the soil, timing, and supplies are all about the same. Below is a quick outline. For more detail, stop in and ask!
- Start with bare ground (remove any existing lawn).
- Test the soil to determine its pH (6.0-7.5 is good) and adjust it if needed.
- Loosen up the soil by tilling it.
- Apply a starter fertilizer and soil conditioner, and work them into the ground using the tiller.
- Rake the soil to remove anything chunky, then roll it with a roller to achieve a level, firm surface.
Lay the Sod
- Start on the outer edges, unrolling a roll on the far left-hand side, then another on the far right-hand side (or vice versa). After laying these two rolls, work your way in towards the center with subsequent strips.
- A single roll may not be long enough to cover the whole length of the lawn. This means you will have to lay separate rolls, end to end, pressing the ends firmly together so that they fit tightly, but without overlapping.
- For strips of sod in an adjacent row, make sure you stagger the ends of rolls, so the seams do not line up. This is called a “running bond pattern”, similar to bricks.
- If a strip appears too low, “shim” it with topsoil to bring it up to the proper level.
- When you are done laying the sod, use the roller again. Roll it to press it down firmly. This removes air pockets, promoting good contact with the soil, and allowing the roots to work immediately.
- IMPORTANT: For a few weeks after laying your sod, water it every day!
Tips
Starting at the edges and working inward means you may not fit full widths in the center. When you get to the center, trim the final roll widths with a sharp knife. Never trim the edges, as they’re most prone to drying out.
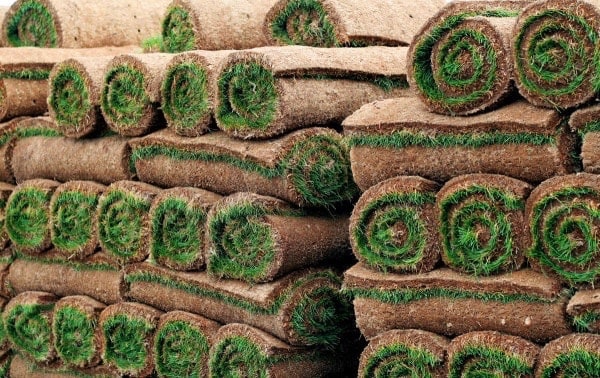
We sell fresh sod in 2’ x 4’ (8 sq. ft.) sections. If you’re stopping by, don’t forget to look at all the plants, trees, and flowers as well. You can even have it delivered by Royal Landscaping.
Stop in today!
Explore more of our Tips & Ideas